


Fermenting Vegetables: A Complete Guide
Introduction
Fermenting vegetables at home is an age-old culinary technique that unlocks bold flavors while delivering gut-friendly probiotics. Not only does fermentation enhance the taste and texture of seasonal produce, it extends shelf life and turns even humble vegetables into crave-worthy, nutrient-rich dishes. Whether you’re looking to maximize your harvest, improve your health, or simply enjoy the zingy tang of homemade kimchi and sauerkraut, this guide to fermenting vegetables has you covered.
Why Try Homemade Vegetable Fermentation?
This method is a game-changer for both seasoned cooks and beginners—easy to start, with minimal equipment and ingredients, and endlessly customizable to suit your taste. Beyond simplicity, homemade ferments give you all-natural, preservative-free snacks and condiments brimming with flavor complexity that store-bought versions can’t match. They’re also a brilliant way to reduce food waste by repurposing surplus or not-so-perfect veggies into something extraordinary.
Understanding the Basics of Vegetable Fermentation
At its core, fermentation relies on naturally occurring lactic acid bacteria to transform vegetables, creating environments too acidic for harmful microbes to thrive. The process typically involves submerging cut vegetables in a salt-water brine or dry salting, which draws liquid from the veggies themselves. Popular options for beginners include cabbage (for sauerkraut), cucumbers (for pickles), carrots, radishes, and cauliflower.
Essential Equipment for Fermenting Vegetables
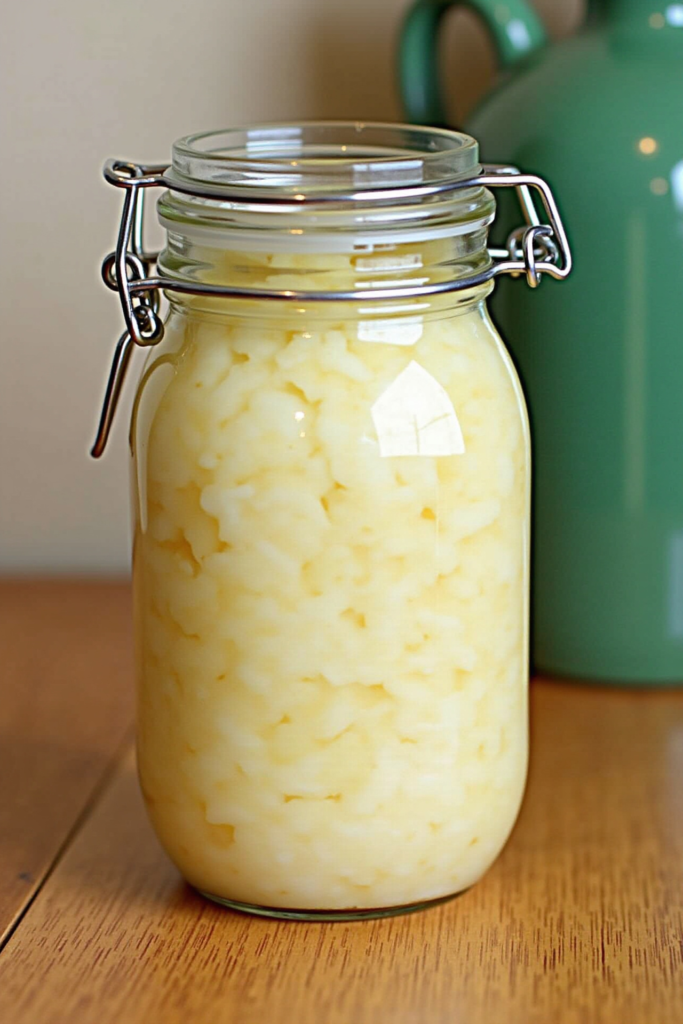
You don’t need fancy gear—just a clean glass jar or crock, a properly fitting lid (or weight), and measuring spoons. For larger fermenting projects, a dedicated fermentation vessel and ceramic weights are handy. Always use non-reactive tools like glass, ceramic, or food-grade plastic; avoid metal, which can react with acidic brine.
Simple Steps to Successful Vegetable Fermentation
1. **Prep the vegetables**: Wash and chop as desired. For crunchy pickles and crisp sauerkraut, cut into consistent sizes.
2. **Salt method**: Either massage salt directly onto the veggies or dissolve it in water to make a brine.
3. **Pack and submerge**: Pack into sterilized jars, ensuring veggies are fully submerged to prevent spoilage.
4. **Cover and ferment**: Cover loosely (for gases to escape), store at room temperature, and check daily. Taste after a few days—most ferments are ready in 5–14 days.
5. **Store**: Once desired tang is reached, transfer to the refrigerator.
Best Vegetables for Fermentation
– **Cabbage** (for sauerkraut and kimchi)
– **Cucumbers** (classic pickles)
– **Carrots**
– **Radishes**
– **Beets**
– **Cauliflower**
– **Green beans**
Feel free to mix and match with spices such as garlic, dill, peppercorns, mustard seeds, or chili.
Nutritional Benefits and Yield
One batch of fermented vegetables (about 1 quart) provides a low-calorie, fiber-rich, vitamin-packed condiment with the bonus of beneficial probiotic bacteria. Homemade ferments are exceptionally low in preservatives and highly customizable for dietary needs.
Ingredients
💡Meal Planning Tip: Save this recipe to automatically generate an organized shopping list with all ingredients sorted by store section—perfect for efficient grocery trips and meal planning.

Instructions
- Prepare vegetables: Wash and chop, grate, or slice vegetables as preferred. Mix with salt and any whole spices/garlic.
- Massage/salt: For cabbage or other leafy vegetables, massage salt into the shreds until they release liquid. For firmer veggies or mixed batches, layer them in a jar and pour over the brine made by dissolving 1 tablespoon salt per 2 cups of filtered water.
- Pack into jars: Tightly pack salted veggies into clean jars. Ensure all pieces are submerged under the liquid—use a fermentation weight or clean cabbage leaf as a seal.
- Ferment: Cover with a loose-fitting lid. Place at room temperature (65–75°F) out of direct sunlight. Check daily to ensure veggies stay submerged, pressing down if needed, and taste after 3–5 days for tanginess; most are ready after 7–14 days.
- Store: Once satisfied with the taste and texture, tighten the lid and move jars to the fridge. Ferments keep for several months when cold.
Weekly Meal Planning
Fermented vegetables are versatile meal builders—use them in bowls, sandwiches, salads, or as quick snacks. Save and schedule this recipe to easily incorporate ferments into your weekly meal plan and auto-generate a smart shopping list that consolidates ingredients across recipes.
**Planning Benefits:**
– Calculates total ingredient needs for the week
– Organizes shopping lists by store section
– Prevents duplicate purchases and forgotten ingredients
– Makes weekly meal prep more streamlined and stress-free
**Pro Tip:** Scheduling recipes like this with CookifyAI ensures you buy just enough produce for fermenting and other meals, helping you cut waste and maximize grocery budget.
Cook and Prep Times
Prep Time: 20 minutes
Fermentation Time: 5–14 days
Total Hands-on Time: 20 minutes (the rest is passive fermentation)
Fermenting vegetables at home is an easy, delicious way to elevate your meals—plus, it brings all the benefits of DIY meal planning and shopping list efficiency to your kitchen with tools like CookifyAI.
